How to: Installing your photo tiles
(aka "modules") correctly
Showcasing your best memories should be childsplay!
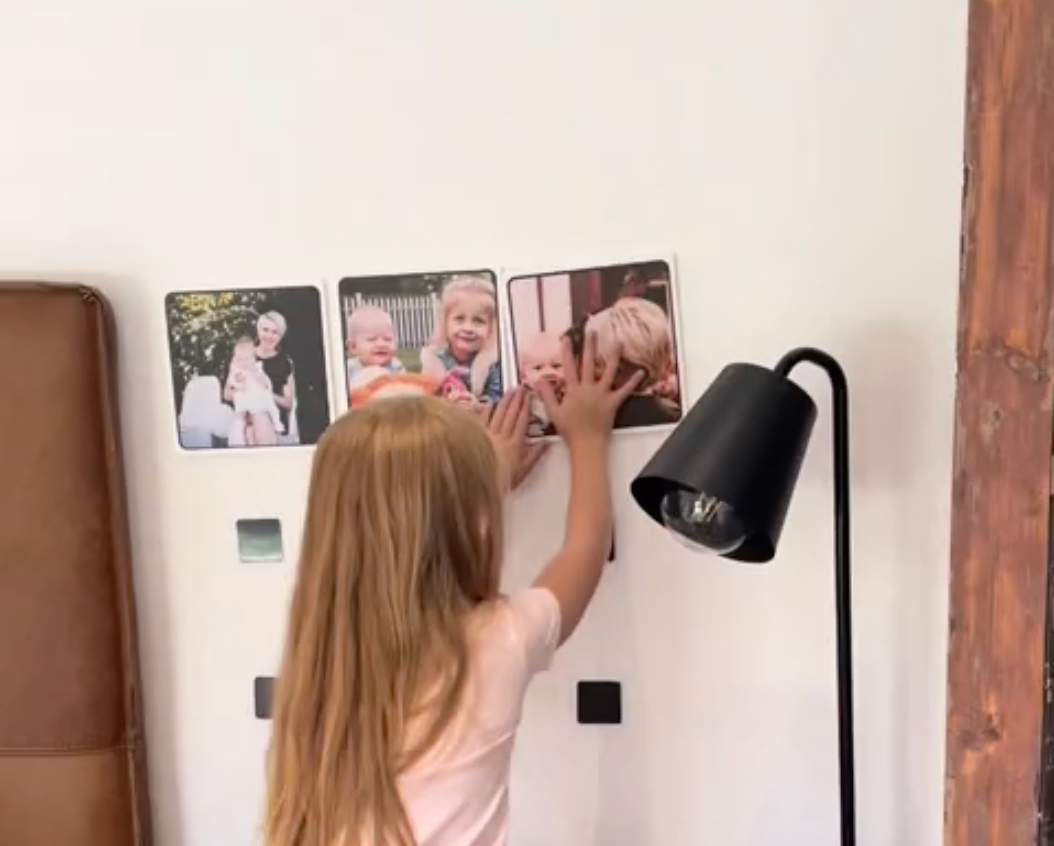
Installing your photo modules correctly is as easy as 1-2-3, and getting it right will ensure you enjoy it every time you walk by.
Our new and improved hook-and-loop hanging system is fast and easy to install.
What’s in your box
Your box from Modular Moments will contain the following components:
-
Removable wall stickers with part A of the hook-and-loop hanging system – 1 for each photo module ordered.
-
Your photo modules (good choice btw!) with part B of the hook-and-loop hanging system already applied to the back.
-
adhere the sticker in place on the wall making sure it is pressed firmly to the wall in all places (do not remove the hook-and-loop tape from the backing, install the complete sticker),
-
align the hook-and-loop square on the back of your module with the square on the wall, then press it firmly together to ensure a good connection.
Important: if these instructions are not followed, your modules may come off the wall and be damaged.